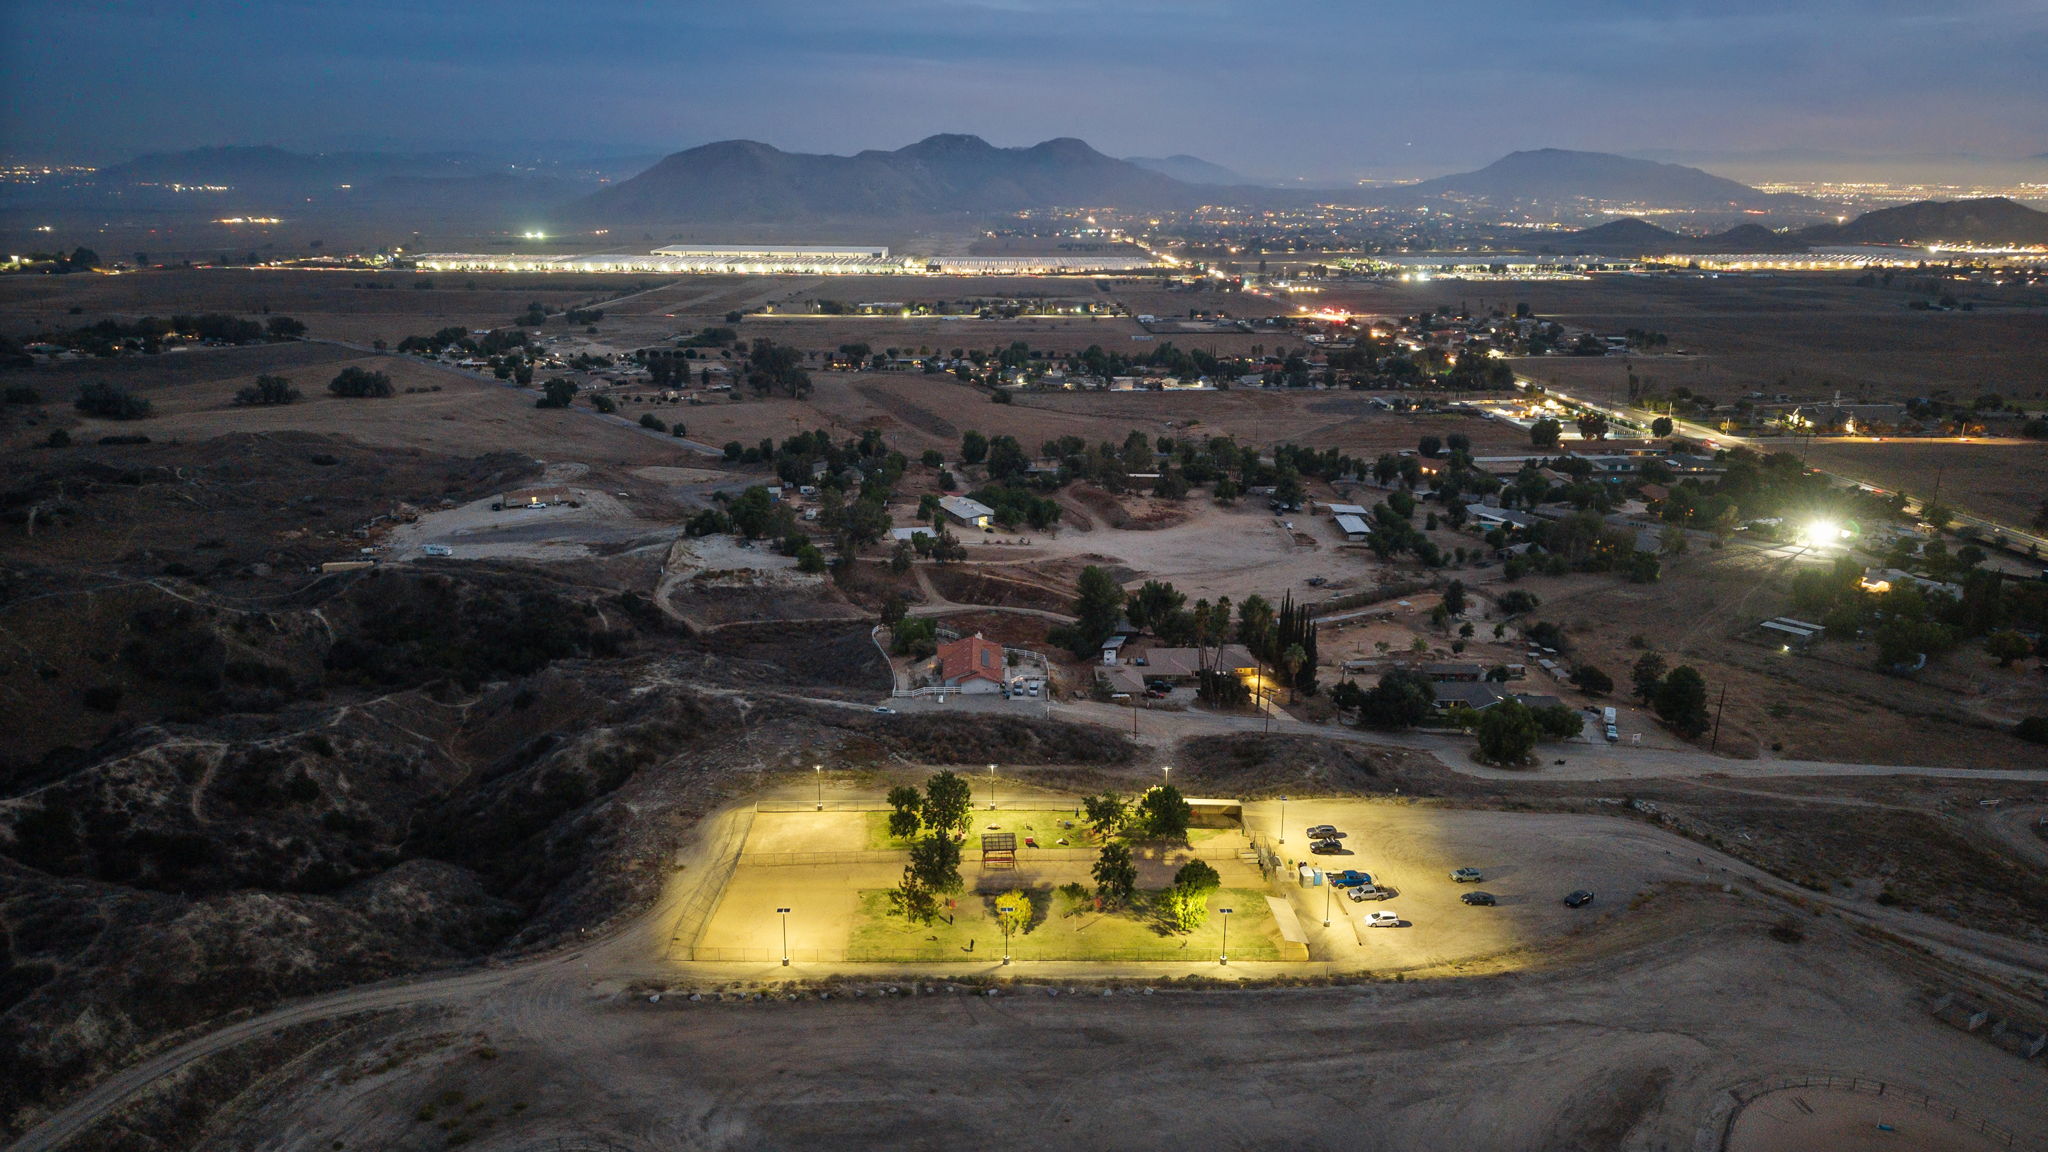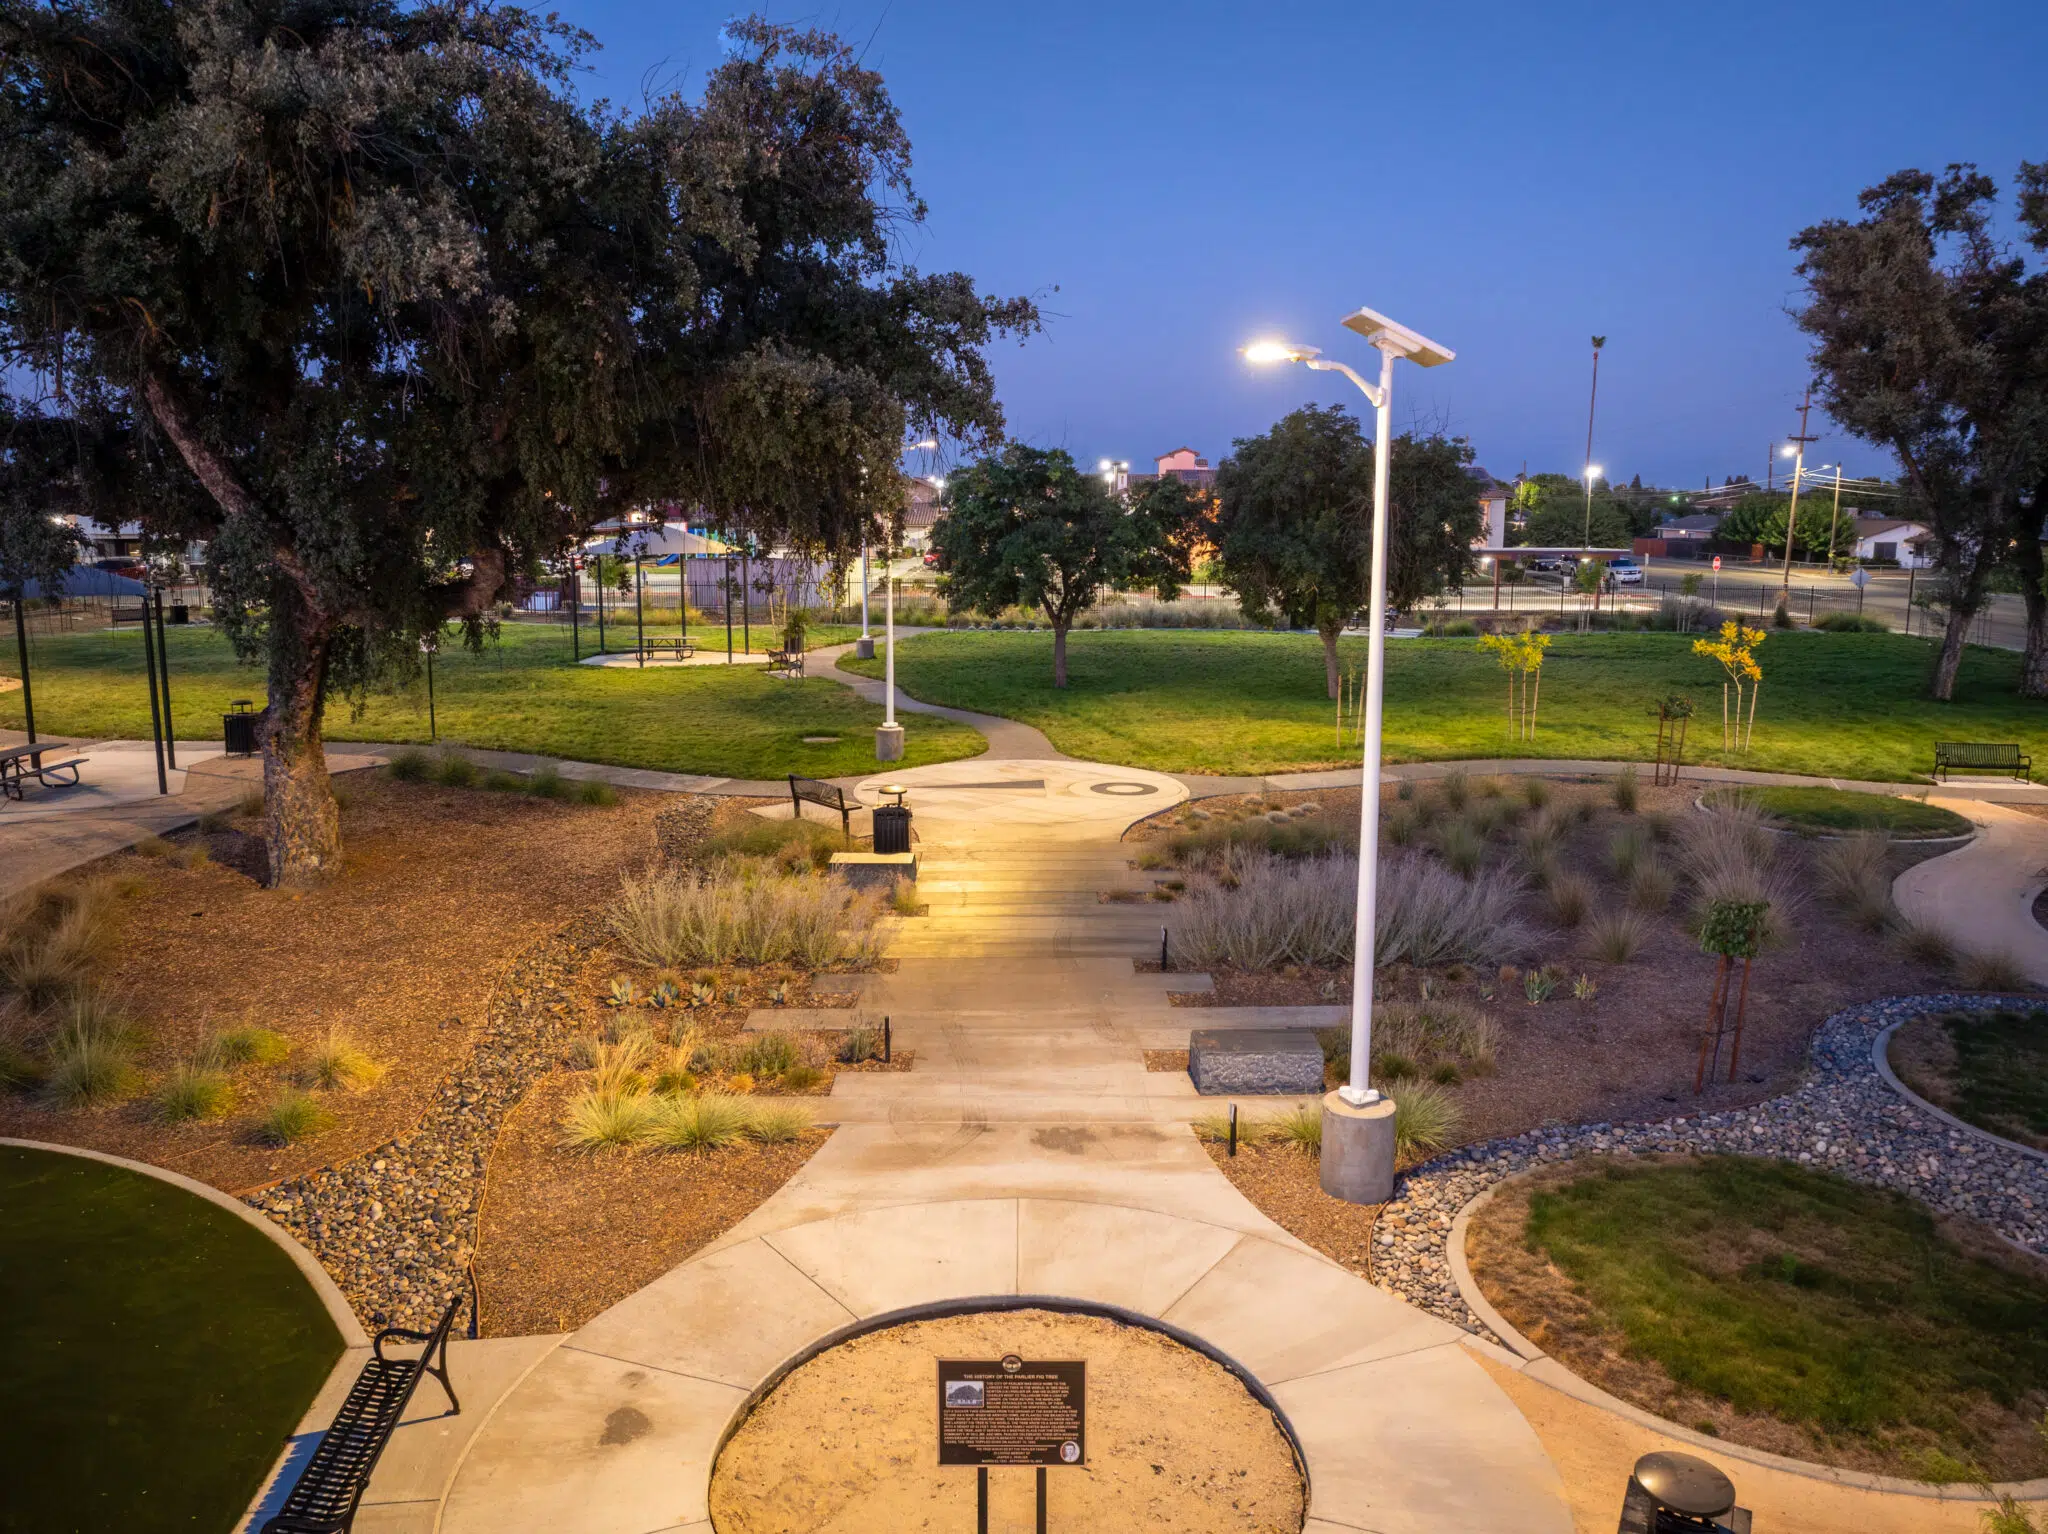
Solar bollard lights
for guided pathways.
Low-height solar lighting for pedestrian paths, parks, hospitality grounds, community entrances and commercial landscapes. Plan by route use, fixture height, spacing rhythm, mounting condition and visual coordination
Plan from the route first. Final appearance, height, spacing, output and outdoor ratings are confirmed by the selected model, sample and project files.
Application
Low-height route guidance
Review first
Path, height, spacing and base
Buyer path
Landscape plan to project RFQ
Where it fits
Where low-height guidance fits.
Start with the route and its users. The setting determines fixture height, spacing rhythm, mounting review and the level of visual coordination required.
Pedestrian walkways
Parks and public paths
Hospitality and community grounds
Commercial landscape entrances
Route planning
Plan the route
before the fixture.
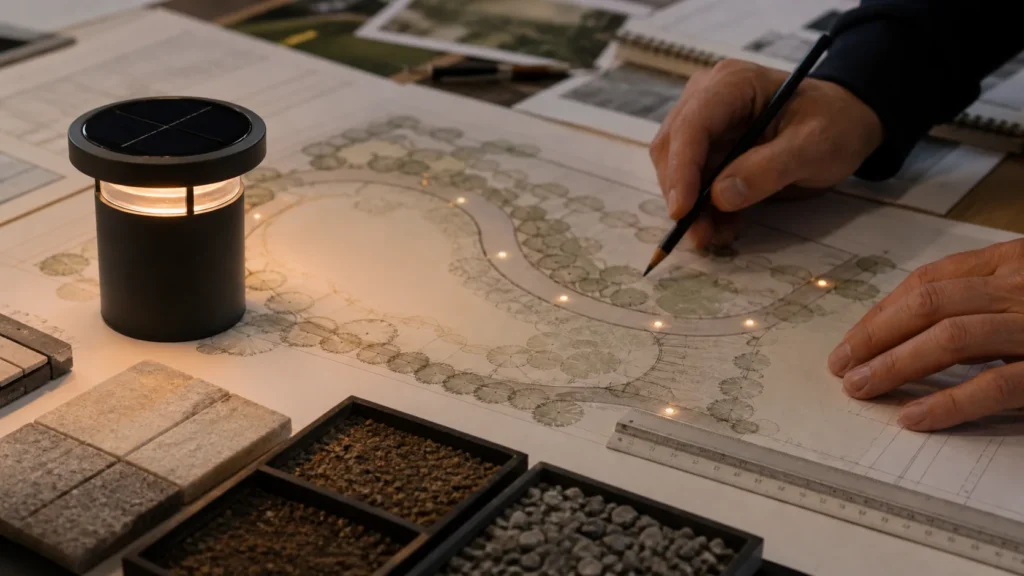
A useful recommendation begins with the path, users and ground. Fixture form follows the required guidance rhythm and installation condition.
Route and users
Record path width, corners, entrances, accessibility needs and expected pedestrian flow.
Fixture height
Choose a low mounting scale that supports guidance without blocking views or dominating the landscape.
Spacing rhythm
Review turns, intersections, planting and target continuity before fixing positions or quantity.
Base and coordination
Confirm paving, soil, anchors, drainage, finish and nearby landscape elements together.
Selection paths
Choose by route scale
and design role.
These paths organize the project brief; they are not product models. Final height, form, output and availability remain model-specific.
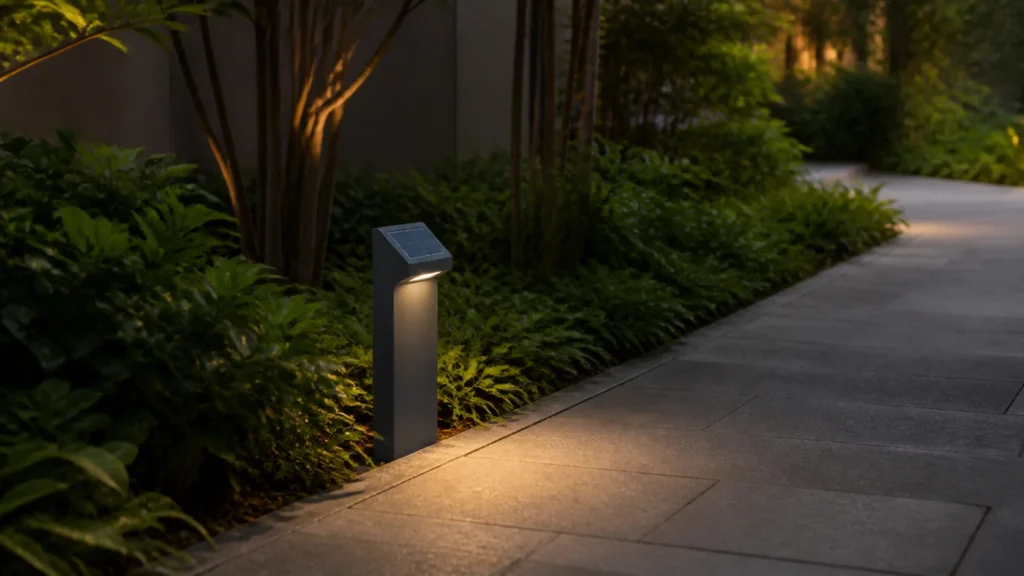
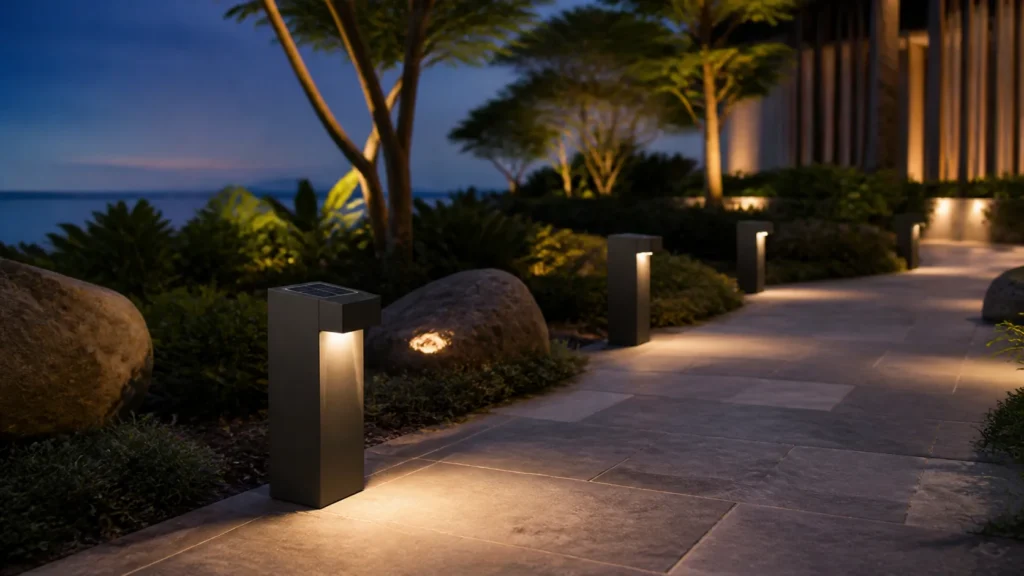
01 / Compact guidance
Triggered entry response
Short paths and small entrances
Compact scale and controlled spread
Check spacing and ground first
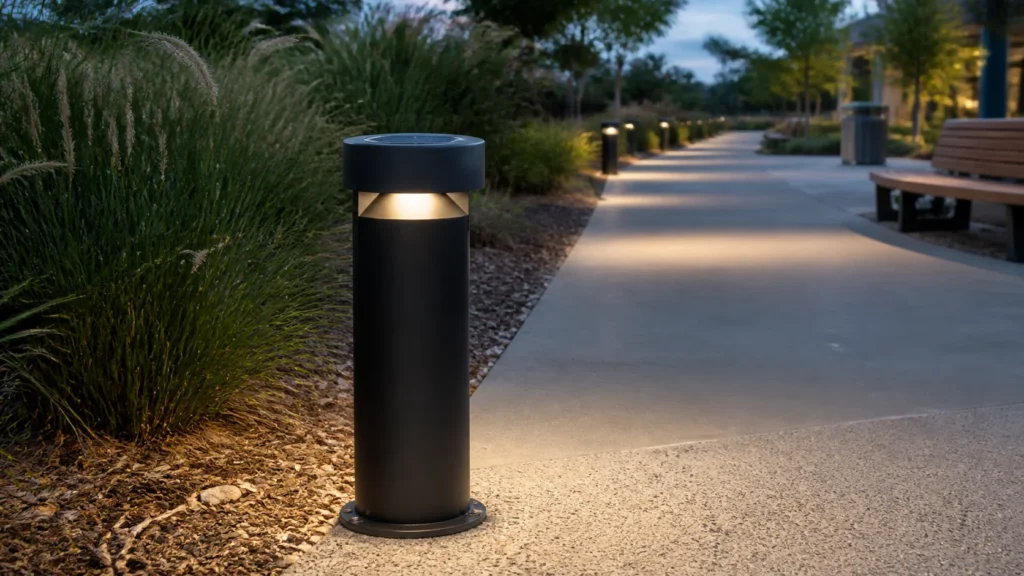
02 / Architectural route
Coordinated property guidance
Hotels, communities and estates
Form, finish and paving coordination
Sample review before approval
03 / Project standard
Repeatable public and commercial routes
Parks and development routes
Durable installation logic
Quantity and phase planning
| Buyer check | Compact route | Architectural route | Project standard |
| Primary route | Short path / entrance | Hospitality / community | Park / commercial development |
| Design priority | Compact visual scale | Form and finish coordination | Repeatable project standard |
| Layout priority | Corners and short spacing | Paving and landscape rhythm | Long-run spacing and quantity |
| Required review | Height and base | Sample, finish and layout | Installation, files and project phase |
Specification parameters
Confirm route-critical specifications.
The exact model file should connect fixture height, mounting, light distribution and outdoor performance to the proposed route layout.
Height
Fixture scale
Confirm by model
Spacing
Route rhythm
Confirm by layout
Mounting
Base and anchors
Confirm by file
Quantity
Route and phase
Confirm by plan
| Parameter | Draft value / range | Proof status |
| Fixture format | All-in-one integrated street light | Product family |
| Application | Local roads, campuses, compounds, pathways, distributor programs | Sample positioning |
| Mounting | 4–10 m pole height sample range; arm and bracket confirmed by model | Sample value |
| Solar panel / battery / controller | 45–150W panel, 256–960Wh LiFePO4, PWM/MPPT controller options | Sample value |
| Lumens / wattage / CCT / optics | 30–100W, 4,800–16,000 lm, 3000K / 4000K / 5700K sample options | Sample value |
| Runtime / autonomy / IP rating | 10–12h night profile, 2–3 rainy days, IP65/IP66 sample target | Sample value |
| Certifications | CE / RoHS / test report package can be prepared by model and destination market | Sample commercial field |
| Warranty / MOQ / lead time | 2–5 year warranty options; 30–50 pcs MOQ sample; 20–30 day lead-time sample | Sample commercial field |
| Packaging / private label | Neutral carton, logo label, color box, manual and pallet plan available for review | Sample commercial field |
Required approval files
Four files complete the
model record.
Illustrative previews only. These images are not product drawings, photometric results, installation documents or factory records.
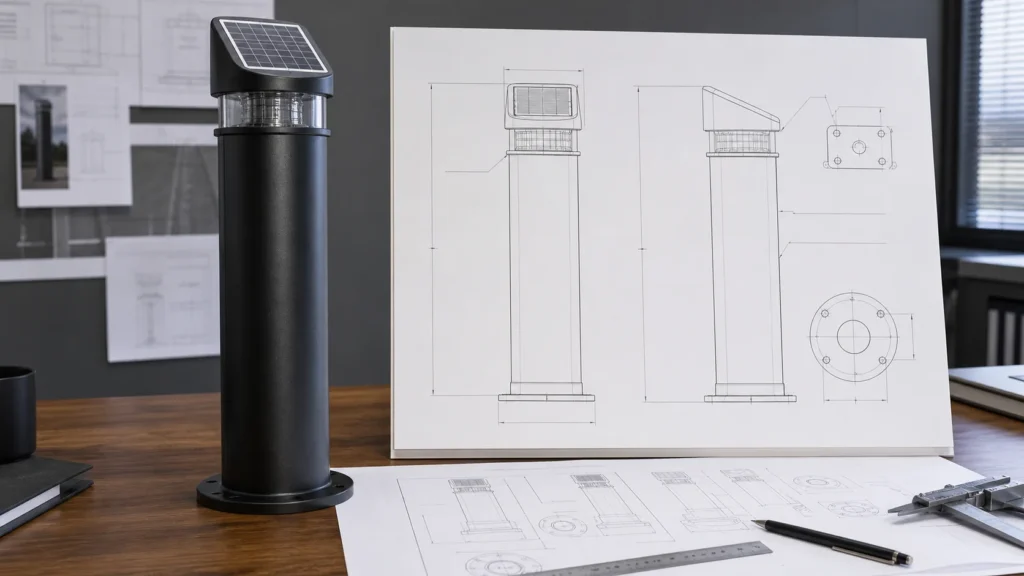
Model drawing preview
Replace with the selected model’s approved dimension drawing showing height, body, base footprint and mounting points.
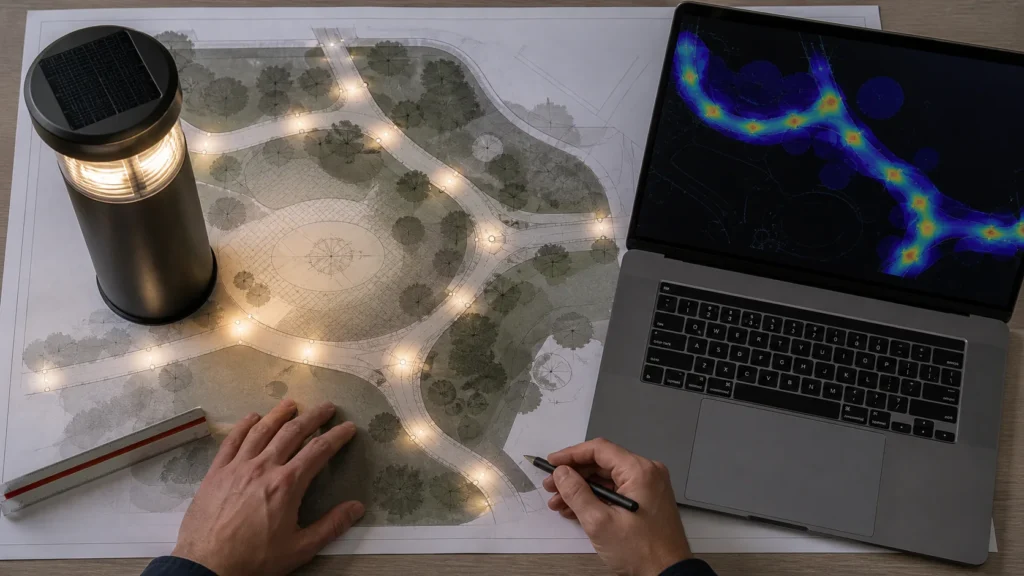
IES report preview
Replace with the selected model’s IES file and photometric report used to review route spacing and light distribution.
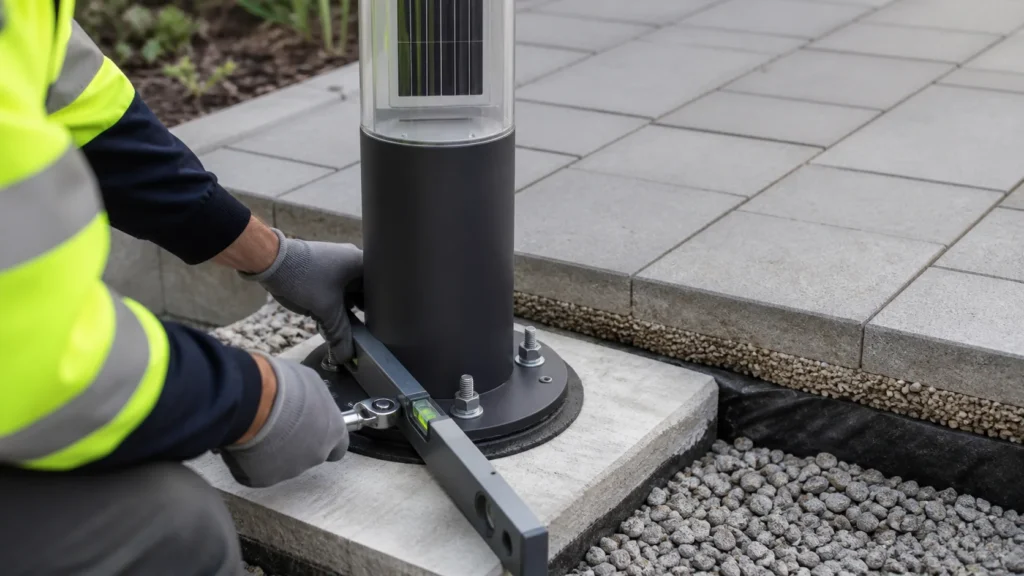
Installation file preview
Replace with the selected model’s installation file covering the base, anchors, fixing method, drainage and ground condition.
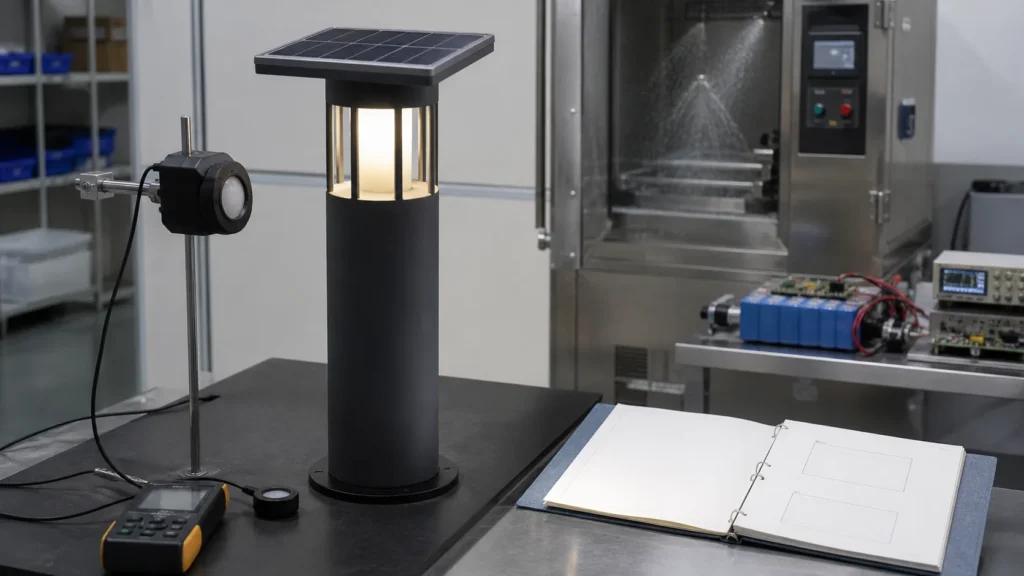
Factory record preview
Replace with traceable records for the exact model before publishing output, control, runtime or weather-performance claims.
Engineering support
Layout, installation and
quantity files.
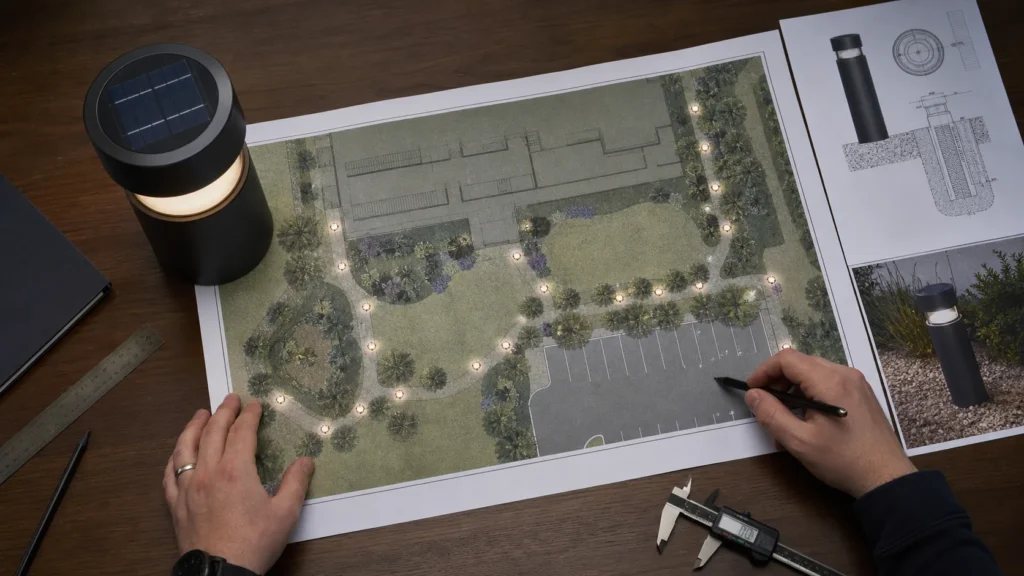
Project support should turn the route plan into positions, mounting details, an approved model file and a usable quantity handoff.
Route layout
Review path width, corners, entrances and proposed positions together.
Height and distribution
Check fixture scale and light direction against the guidance task.
Installation detail
Record base, anchors, ground, drainage and service access by model.
Quantity and phasing
Confirm fixture count, route sections and project stages before quotation.
Manufacturing & QC
Finish, base and
packing QC
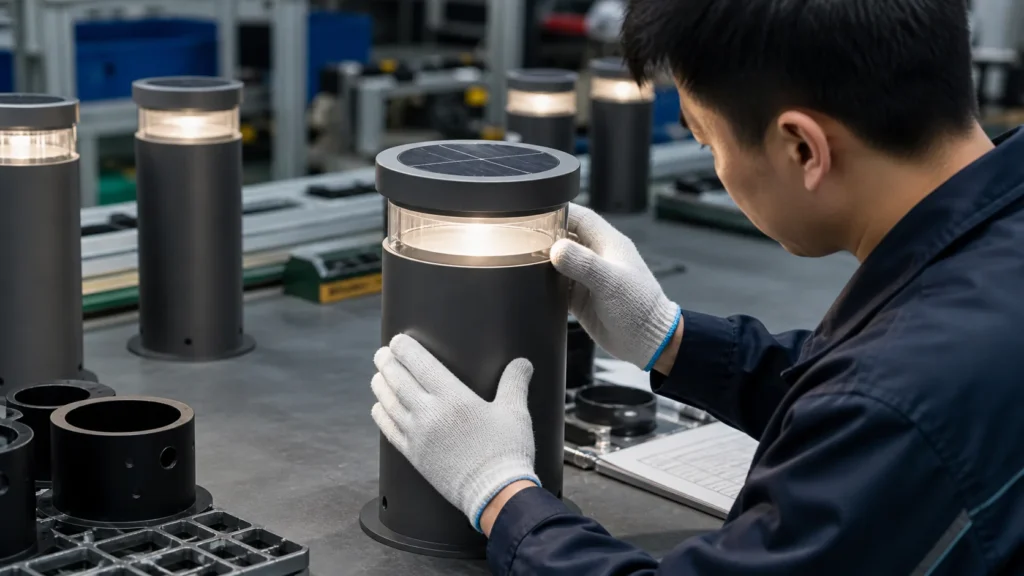
Bollard-light QC connects the visible fixture, ground installation and project quantity to the approved model and order file.
Body and finish check
Housing, solar surface, diffuser, finish and visible assembly are checked against the approved sample.
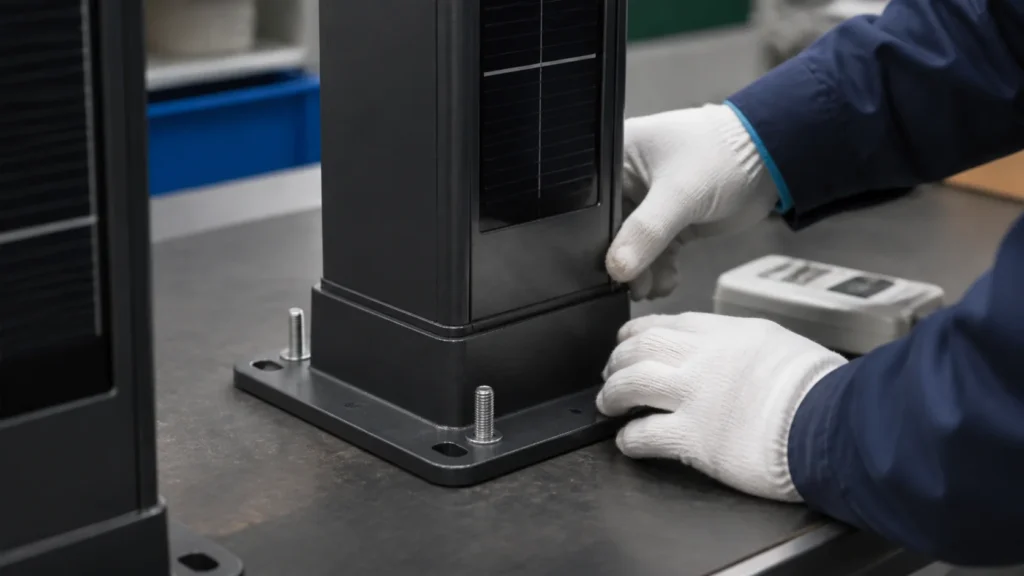
Base and sealing check
Base plate, anchors, enclosure joints, gasket and installation direction are reviewed together.
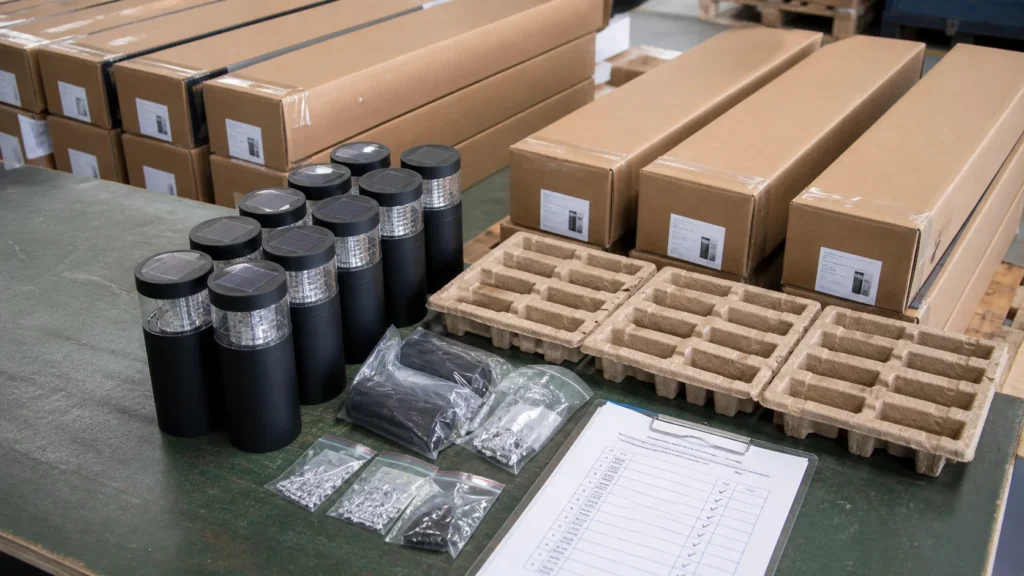
Quantity and packing verification
Fixture count, accessories, protective inserts, cartons and model labels are matched to the order file before dispatch.
Buyer questions
Questions before
route and model selection.
How should bollard spacing be decided?
Start with path width, turns, intersections, desired guidance continuity and the selected model’s light distribution. Spacing should be reviewed on the route plan, not copied from a generic number.
What fixture height is suitable?
Height depends on pedestrian scale, planting, sightlines, light distribution and the visual role of the fixture. Confirm the available model dimensions against the landscape plan.
What installation information is needed?
Share whether the route uses paving, concrete or soil, plus base constraints, drainage, anchor access and any restrictions on excavation.
How is project quantity confirmed?
Use the approved route positions and project phases. The final count should stay tied to the layout, selected model, accessories and replacement or spares policy.
RFQ inputs
Send the route and ground condition first.
Project and approval details
Destination country and required model documents
Operating profile, solar exposure and any planting or shade constraints
Schedule, sample stage, packaging or project/OEM requirements
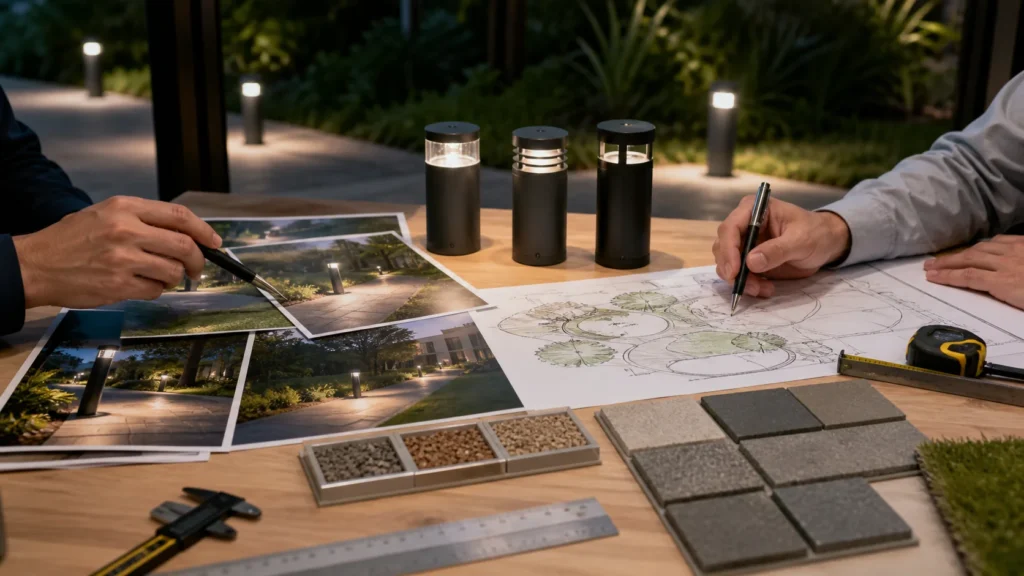
01 Route photos or landscape drawing, including path length, width, turns and entrances
02 Preferred fixture height, form, finish and visual style
03 Proposed spacing, estimated quantity and project phase
04 Ground condition: paving, concrete base, soil, drainage and anchor constraints